instructions for cuisinart frozen yogurt ice cream and sorbet maker
Cuisinart’s automatic maker swiftly crafts delightful frozen treats! Enjoy homemade yogurt, ice cream, and sorbet with ease, offering a faster route to frozen dessert enjoyment.
What is this Machine?
This Cuisinart appliance is an automatic frozen yogurt, ice cream, and sorbet maker designed for convenient, homemade frozen desserts. It simplifies the process, eliminating manual churning. The machine utilizes a freezer bowl and mixing paddle, driven by a motor base, to create smooth textures. A clear lid with an ingredient chute allows for easy addition of mix-ins during the freezing cycle, offering customizable treats quickly and efficiently.
Benefits of Making Frozen Desserts at Home
Creating frozen treats at home with the Cuisinart maker offers complete control over ingredients, avoiding unwanted additives and sugars. It’s a cost-effective alternative to store-bought options, allowing for experimentation with unique flavors. Enjoy fresher, healthier desserts tailored to dietary needs, and the satisfaction of a delightful, homemade experience!

Understanding the Parts
The Cuisinart maker features a freezer bowl, mixing paddle, motor base, and a clear lid with an ingredient chute for easy additions during operation.
Freezer Bowl
Crucially, the freezer bowl requires at least 24 hours of freezing before initial use, and subsequently, a full freeze between batches. This ensures optimal chilling for proper freezing. It’s a double-walled bowl containing a freezing liquid; do not submerge it in water or place it in the dishwasher. Proper freezing is paramount for achieving the desired consistency in your frozen desserts, preventing a soupy result. Always ensure it’s thoroughly frozen before assembly!
Mixing Paddle
The mixing paddle is the component responsible for churning your ingredients into a smooth, frozen consistency. It easily attaches to the motor base and consistently blends during the freezing process. Ensure the paddle is securely in place before operation. After each use, promptly remove and wash the paddle with warm, soapy water to prevent residue buildup and maintain optimal performance for future batches.
Motor Base
The motor base powers the entire frozen dessert-making process, driving the mixing paddle to churn ingredients. It securely holds the freezer bowl in place during operation. This unit features an auto-stop function, halting operation if the motor overheats, ensuring safety and longevity. Always ensure the motor base is placed on a stable, level surface before starting.
Clear Lid & Ingredient Chute
The clear lid allows you to monitor the freezing process without interrupting it, ensuring optimal texture. It features a convenient ingredient chute, enabling you to add mix-ins like chocolate chips or fruit during the final minutes of churning. Securely fasten the lid to the freezer bowl before initiating the freezing cycle for spill prevention.
Preparing for Your First Batch
Prior to initial use, ensure the freezer bowl is thoroughly frozen for at least 24 hours. Proper chilling is crucial for achieving creamy, delicious frozen desserts.
Freezing the Bowl
Crucially, the freezer bowl must be completely frozen before each use – typically a minimum of 24 hours is recommended. Ensure it’s placed on a level surface in the coldest part of your freezer, avoiding areas near the defrost cycle. A fully frozen bowl is essential for proper freezing and achieving the desired consistency. Verify it’s solid; any liquid indicates insufficient freezing, delaying your dessert creation!
Ingredient Considerations
For best results, use high-quality, fresh ingredients. Dairy should be full-fat for a creamier texture. Chill all ingredients thoroughly before combining them; this reduces freezing time and improves consistency. Avoid ingredients with large chunks, as they may strain the machine. Sugar content impacts freezing – adjust accordingly for optimal results!
Recipe Basics: Yogurt, Ice Cream, Sorbet
Yogurt requires a simple base of yogurt, sugar, and flavorings. Ice cream needs cream, milk, sugar, and often eggs for richness. Sorbet utilizes fruit puree, sugar, and water – a lighter, refreshing option. All recipes benefit from chilling ingredients beforehand. Experiment with extracts, fruits, and chocolate for customized frozen delights!
Making Frozen Yogurt
Yogurt bases are easily created with yogurt, sugar, and desired flavors. The Cuisinart maker transforms these simple mixtures into creamy, cool frozen yogurt quickly.
Yogurt Base Recipes
Creating delicious frozen yogurt starts with a solid base. A simple recipe combines 2 cups of your favorite yogurt (Greek yogurt yields a thicker result) with ½ cup of sugar or honey. For enhanced flavor, incorporate 1 teaspoon of vanilla extract or a pinch of salt.
Experiment with fruit purees – about 1 cup blended with the yogurt – for naturally sweetened options. Consider adding a tablespoon of lemon juice to brighten the flavors. Remember, adjusting sweetness is key to a perfect frozen treat!
Freezing Process for Yogurt
Ensure the freezer bowl is thoroughly frozen – typically at least 24 hours. Pour your prepared yogurt base into the frozen bowl, securing the lid. Power on the machine; it will automatically churn for around 20-30 minutes.
The mixture will thicken to a soft-serve consistency. For a firmer texture, transfer the yogurt to a freezer-safe container and freeze for an additional 2-4 hours. Enjoy your homemade frozen yogurt!
Adding Mix-Ins to Yogurt
During the last few minutes of the churning cycle, slowly add your desired mix-ins – think fruits, chocolate chips, or granola. This prevents them from sinking to the bottom.
Avoid adding large, frozen pieces, as they can strain the motor. A maximum of about ½ cup of mix-ins is recommended for optimal texture and distribution throughout your delicious frozen yogurt creation.
Making Ice Cream
Craft classic ice cream effortlessly! The Cuisinart maker transforms simple bases into creamy delights, offering a customizable and satisfying frozen treat experience.
Classic Ice Cream Base
Creating a foundational ice cream base is simple! Combine 2 cups of heavy cream, ¾ cup of whole milk, and ¾ cup of granulated sugar in a saucepan. Heat gently, stirring until the sugar dissolves completely – avoid boiling. Whisk in a pinch of salt and, optionally, 1 teaspoon of vanilla extract for enhanced flavor.
Chill the mixture thoroughly for at least two hours, or preferably overnight, before pouring it into your pre-frozen Cuisinart freezer bowl. This ensures optimal freezing and a wonderfully creamy texture.
The Freezing Process for Ice Cream
Pour your chilled ice cream base into the prepared, frozen Cuisinart freezer bowl. Secure the lid with the ingredient chute in place. Power on the machine; it will begin churning automatically. Allow the mixture to churn for approximately 20-25 minutes, or until it reaches a soft-serve consistency.
For a firmer texture, transfer the ice cream to an airtight container and freeze for an additional 2-4 hours.
Achieving the Right Consistency in Ice Cream
The ideal ice cream consistency depends on your preference! If too soft after churning, freeze for 2-4 hours. Overly hard ice cream suggests a low fat content; consider adding cream to future batches. Monitor the churning process – a slower churn yields a denser texture.
Remember, the auto-stop feature prevents overheating, ensuring optimal results.
Making Sorbet
Sorbet creation begins with vibrant fruit purees! Simply pour the prepared mixture into the frozen bowl and let the Cuisinart maker work its magic.
Fruit Puree Preparation
Creating exceptional sorbet relies on high-quality fruit puree. Begin with ripe, flavorful fruits – berries, mangoes, peaches all work wonderfully! Blend the fruit until completely smooth, ensuring no chunks remain.
For optimal texture, strain the puree to remove any seeds or fibrous bits. Adjust sweetness to your preference by adding simple syrup or honey gradually, tasting as you go. Remember, freezing dulls sweetness, so err on the side of slightly sweeter!
Sorbet Freezing Instructions
Ensure the Cuisinart freezer bowl is thoroughly frozen – at least 24 hours is recommended! Pour your prepared fruit puree into the frozen bowl, ensuring it doesn’t exceed the maximum fill line. Secure the lid and ingredient chute, then power on the machine.
Allow the machine to run for approximately 20-30 minutes, or until the mixture reaches a slushy, sorbet-like consistency. For a firmer texture, transfer to a freezer-safe container and freeze for an additional 1-2 hours.
Adjusting Sweetness in Sorbet
Sorbet’s sweetness relies heavily on the natural sugars in the fruit; taste your puree before freezing! If the fruit is tart, gradually add simple syrup (equal parts sugar and water, heated until dissolved) to achieve desired sweetness.
Remember, freezing dulls sweetness, so slightly over-sweeten the puree. A tablespoon at a time is best, mixing and tasting after each addition, ensuring a perfectly balanced, refreshing sorbet.
Operation & Safety Features
The Cuisinart maker features simple assembly and an auto-stop function preventing motor overheating. Always ensure proper assembly for safe and efficient operation of the unit.
Assembling the Machine
Cuisinart’s frozen dessert maker assembly is straightforward. First, ensure the freezer bowl is thoroughly frozen – typically 24 hours is recommended. Next, place the frozen bowl securely onto the motor base, aligning it correctly. Attach the mixing paddle, ensuring it clicks into place within the bowl. Finally, position the clear lid with the ingredient chute over the bowl, locking it into position.
The Auto-Stop Feature
Cuisinart prioritizes safety with its auto-stop function. This crucial feature automatically halts the machine if the motor overheats during operation, preventing potential damage. The unit will cease functioning, and you may need to allow it to cool before restarting. This safeguard ensures longevity and reliable performance while creating your frozen delights.
Preventing Overheating
To avoid triggering the auto-stop feature, ensure proper operation. Avoid continuous use for extended periods; allow the machine resting intervals. Do not overload the ingredient chamber, as this strains the motor. Confirm the freezer bowl is thoroughly frozen before each batch – insufficient freezing increases motor workload. Proper usage extends the maker’s lifespan.
Troubleshooting Common Issues
If the machine won’t start, check the power connection. Soft mixtures need more freezing; hard mixtures may require slightly less time in the machine.
Machine Not Turning On
Firstly, ensure the unit is securely plugged into a functioning electrical outlet. Secondly, verify the freezer bowl is completely frozen – a minimum of 24 hours is often required. Additionally, confirm the clear lid is properly and firmly attached to the motor base, as a safety interlock prevents operation if misaligned. Finally, if overheating is suspected, allow the machine to cool down before attempting to restart it; the auto-stop feature activates to prevent damage.
Frozen Mixture Too Soft
If your frozen dessert lacks firmness, the freezer bowl may not have been frozen sufficiently – ensure a full 24 hours of freezing. Alternatively, the mixture might not have been cold enough before churning; pre-chill ingredients thoroughly. Consider adding a small amount of alcohol (like vodka) to inhibit ice crystal formation. Finally, transfer the soft mixture to a freezer-safe container for further hardening.
Frozen Mixture Too Hard
Should your frozen dessert become excessively hard, it likely indicates over-freezing. Allow the mixture to sit at room temperature for 5-10 minutes to soften slightly before scooping. Reducing the freezing time during the churning process can also prevent this issue. Remember, adding a touch of alcohol or corn syrup can help maintain a smoother, less icy texture, preventing extreme hardness.
Cleaning and Maintenance
Disassemble components after each use for thorough cleaning. Wash parts with warm, soapy water, and ensure complete drying before storage to prevent issues.
Disassembling for Cleaning
Before cleaning your Cuisinart machine, always unplug it! Gently lift the clear lid and remove the mixing paddle. The freezer bowl can then be detached from the motor base. Ensure the bowl is completely thawed before attempting removal, as forcing it could cause damage. Separate all components – lid, paddle, bowl, and base – preparing them for a proper wash. This methodical disassembly ensures every part receives the attention it needs for optimal hygiene and future performance.
Proper Cleaning Procedures
Wash the lid, paddle, and motor base with warm, soapy water; avoid abrasive cleaners. The freezer bowl should be hand-washed only – do not place it in the dishwasher! Rinse all parts thoroughly and allow them to air dry completely before reassembling. A clean machine ensures optimal performance and prevents flavor contamination between batches. Regular, diligent cleaning extends the lifespan of your Cuisinart maker.
Storage Instructions
Store the motor base in a cool, dry place. The freezer bowl must be completely frozen before each use, so keep it in the freezer. The lid and paddle can be stored with the motor base, or separately in a clean, dry location. Ensure all parts are dry before storing to prevent mold or mildew. Proper storage maintains the machine’s longevity.
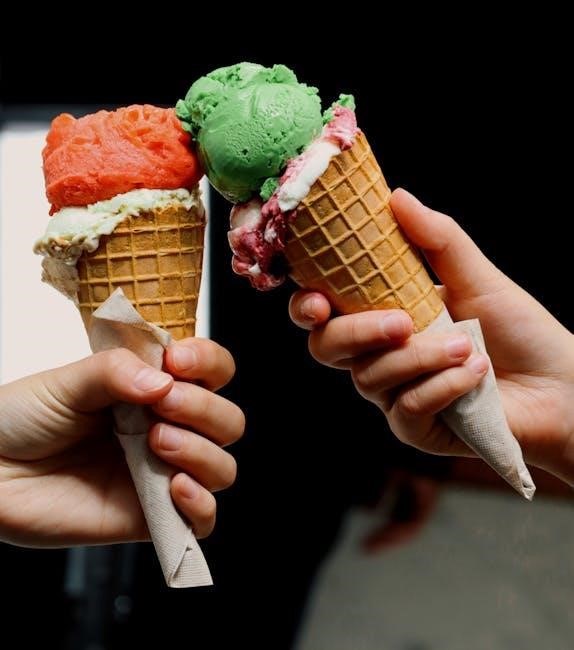
Recipe Ideas & Inspiration
Explore delicious options like rich chocolate ice cream, refreshing strawberry sorbet, and tangy mango frozen yogurt – perfect for your Cuisinart maker!
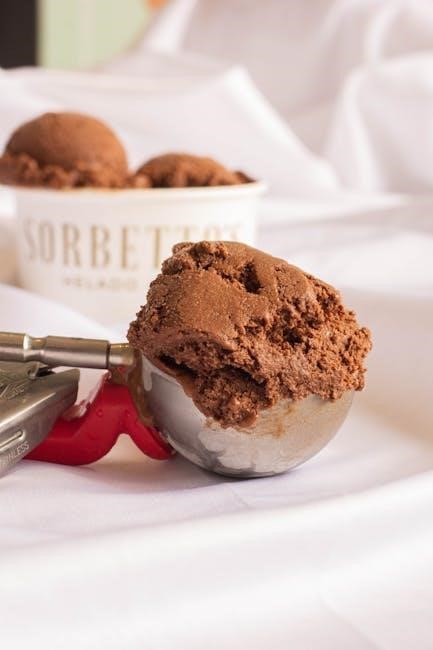
Chocolate Ice Cream Recipe
Indulge in a classic! Combine 2 cups heavy cream, ¾ cup sugar, ¼ cup cocoa powder, and a pinch of salt. Stir until sugar dissolves. Add 1 tsp vanilla extract.
Chill the mixture thoroughly, then pour into your frozen Cuisinart bowl. Process for approximately 20-25 minutes, or until a thick, creamy consistency is achieved. For richer flavor, add chocolate chips during the last five minutes of churning. Enjoy immediately or freeze for a firmer texture!
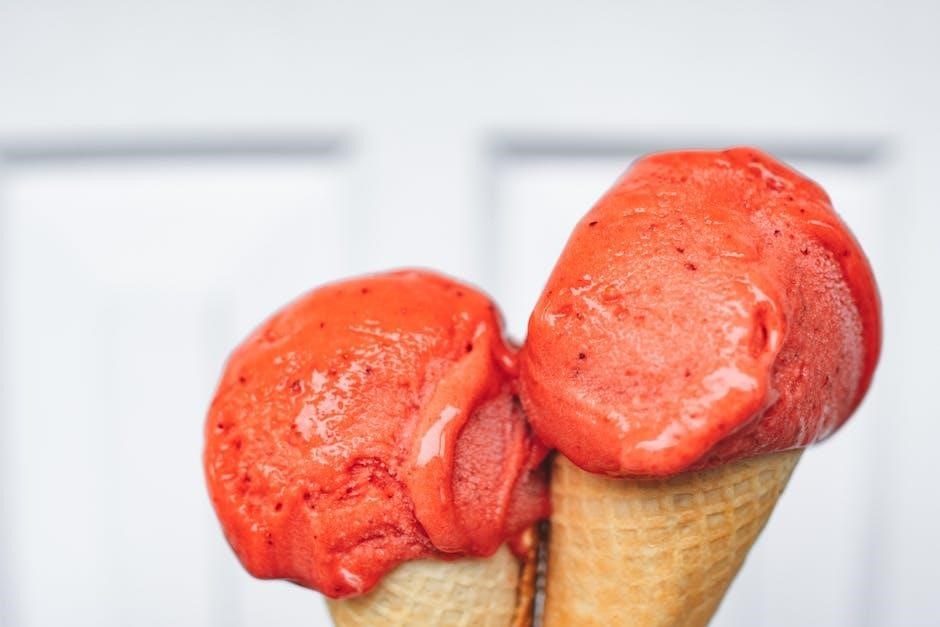
Strawberry Sorbet Recipe
Create a refreshing sorbet! Blend 2 cups fresh or frozen strawberries with ¾ cup sugar and ¼ cup water until smooth. For a brighter flavor, add a tablespoon of lemon juice. Strain the mixture to remove seeds for a silkier texture.
Chill thoroughly, then pour into your pre-frozen Cuisinart bowl. Process for around 30-40 minutes, or until it reaches a slushy, sorbet-like consistency. Adjust sweetness to taste before freezing for a firmer result.
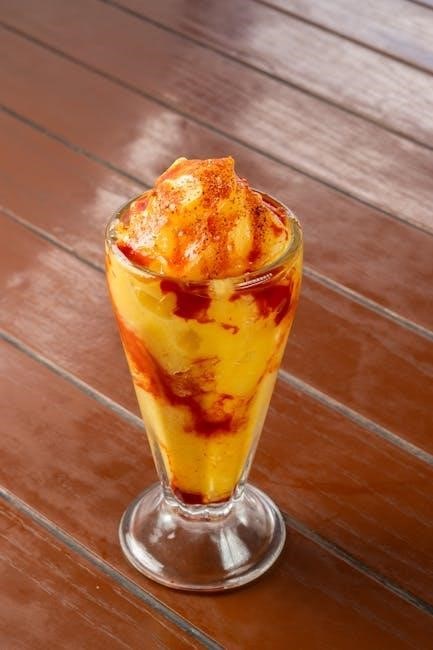
Mango Frozen Yogurt Recipe
For a tropical treat, combine 2 cups diced mango (fresh or frozen) with 1 cup plain yogurt – Greek yogurt adds extra creaminess! Add ¼ cup honey or maple syrup for sweetness, and a squeeze of lime juice to enhance the mango flavor.
Blend until smooth, then chill the mixture. Pour into your pre-frozen Cuisinart bowl and process for approximately 20-30 minutes, achieving a soft-serve consistency. Enjoy immediately or freeze for a firmer texture.
Advanced Techniques
Experiment with flavor combinations! Layering ingredients during the freezing process, or creating vegan options using coconut milk, elevates your frozen dessert creations.
Layering Flavors
Achieve complex tastes by strategically adding mix-ins during the Cuisinart maker’s freezing cycle. Begin with a base, then introduce fruit purees, chocolate chips, or cookie pieces midway through. This prevents ingredients from sinking. For a ripple effect, gently swirl in sauces like caramel or fruit compote during the final minutes. Remember to avoid overfilling, allowing space for expansion. Layering transforms simple recipes into gourmet experiences, offering delightful surprises in every spoonful of your homemade frozen delights!
Creating Vegan Options
Easily adapt recipes for a plant-based diet! Substitute dairy milk with coconut, almond, or soy milk for ice cream and yogurt bases. Utilize coconut cream for a richer texture. For sorbet, ensure your fruit purees are entirely plant-derived. Vegan chocolate chips and cookie pieces enhance flavor. The Cuisinart maker handles these substitutions seamlessly, delivering delicious, dairy-free frozen desserts. Experiment with plant-based sweeteners like maple syrup or agave for a guilt-free indulgence!
Where to Find More Recipes
Cuisinart’s website offers a wealth of recipes, alongside vibrant online frozen dessert communities. Explore diverse flavors and innovative creations for your maker!
Cuisinart Website Resources
Cuisinart’s official website is a fantastic starting point for expanding your frozen dessert repertoire. You’ll discover a dedicated section brimming with recipes specifically designed for your Frozen Yogurt, Ice Cream & Sorbet Maker. These recipes range from classic vanilla and rich chocolate to exciting fruit sorbets and innovative yogurt combinations.
Beyond recipes, the website provides helpful tips, troubleshooting guides, and frequently asked questions to ensure a smooth and enjoyable experience. Explore instructional videos demonstrating techniques and offering inspiration for creating your own signature frozen treats.
Online Frozen Dessert Communities
Numerous online communities and forums are dedicated to the art of homemade frozen desserts! These platforms offer a wealth of knowledge, shared experiences, and creative recipe ideas tailored for Cuisinart machines. Connect with fellow enthusiasts to exchange tips, troubleshoot challenges, and discover unique flavor combinations.
Websites and social media groups provide a space to ask questions, share your creations, and gain inspiration from others’ successes. Explore blogs featuring detailed recipes and step-by-step instructions, expanding your skills and unlocking endless possibilities.